01
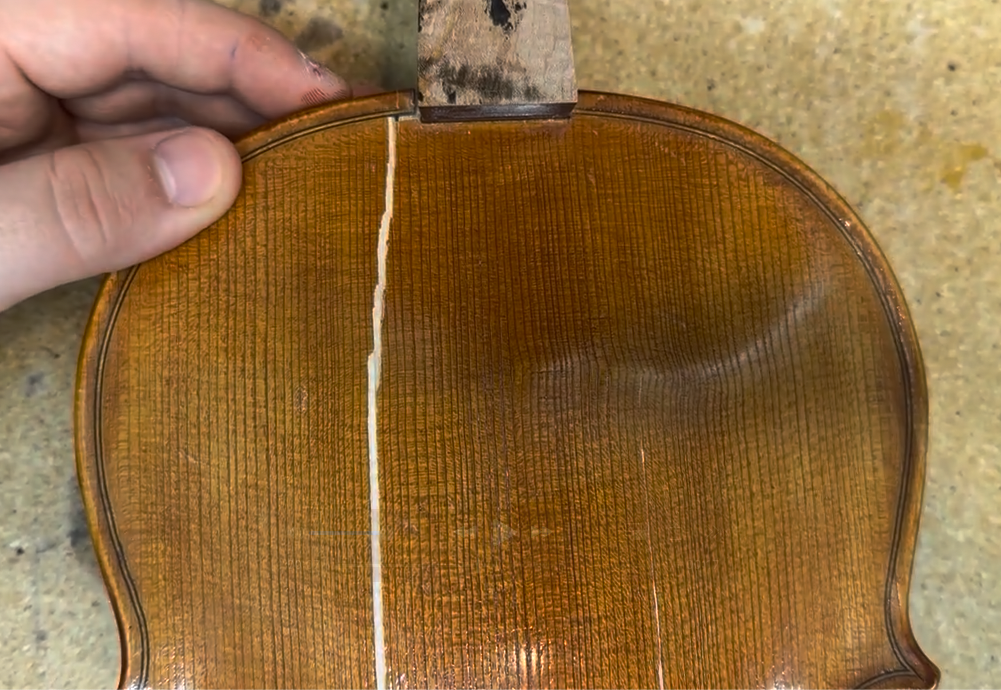
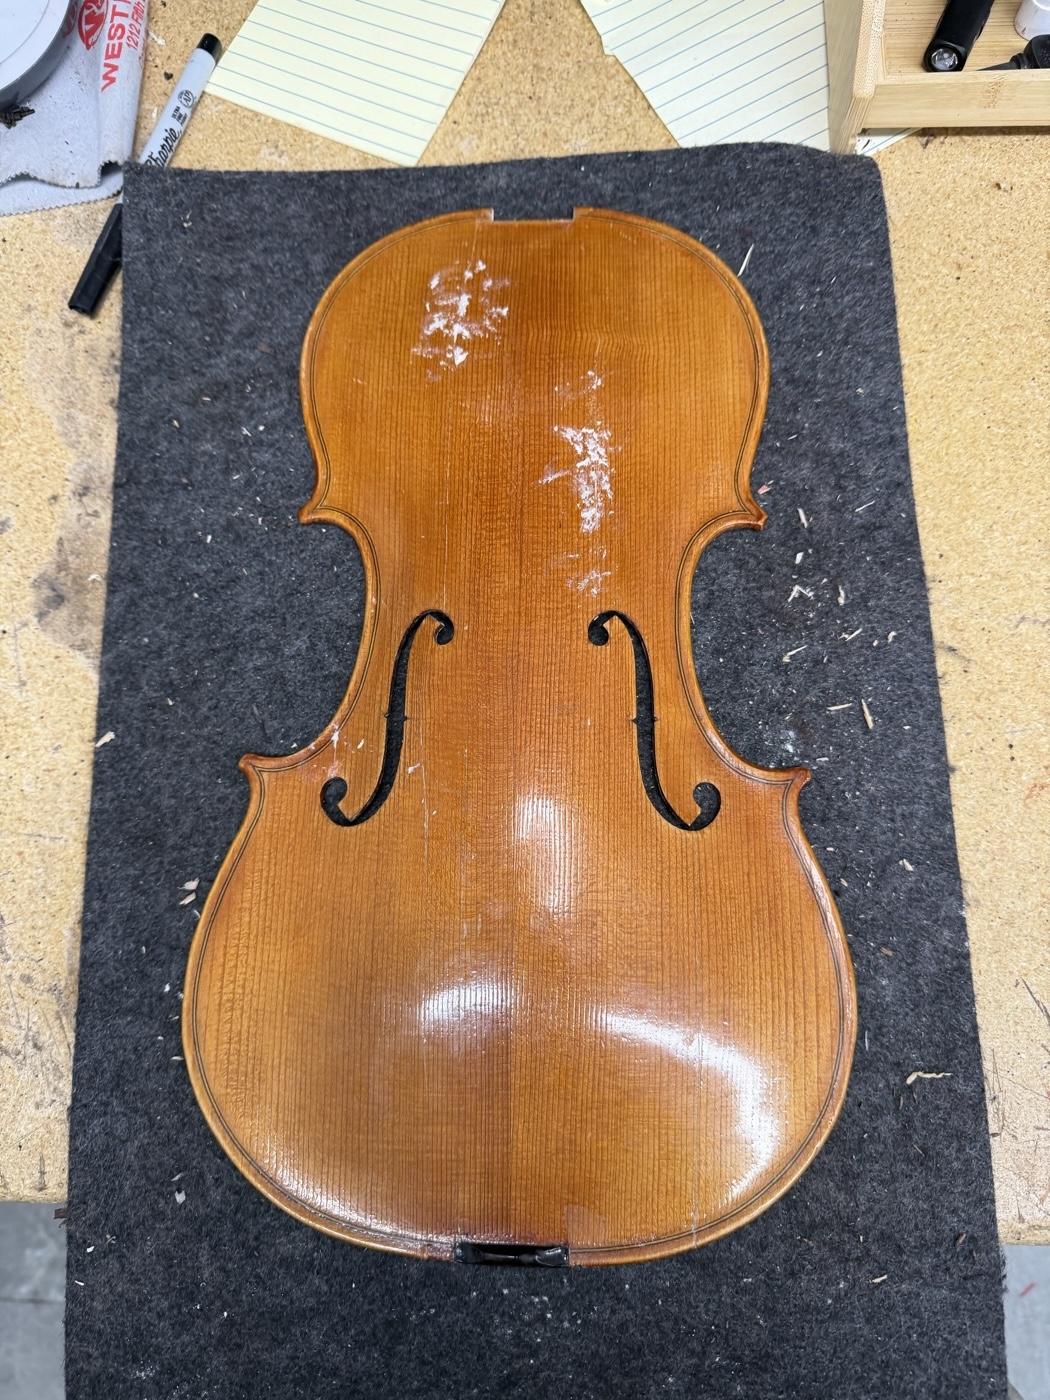
There is extensive work needed to be done. The fingerboard had shattered (I removed the majority of it in these photos),
the top has fractured into multiple pieces, the bassbar has been damaged, the ribs have been ripped completely
through the grain in two places, there is a crack in the back, and there is missing wood in multiple places.
Whew...quite the project.

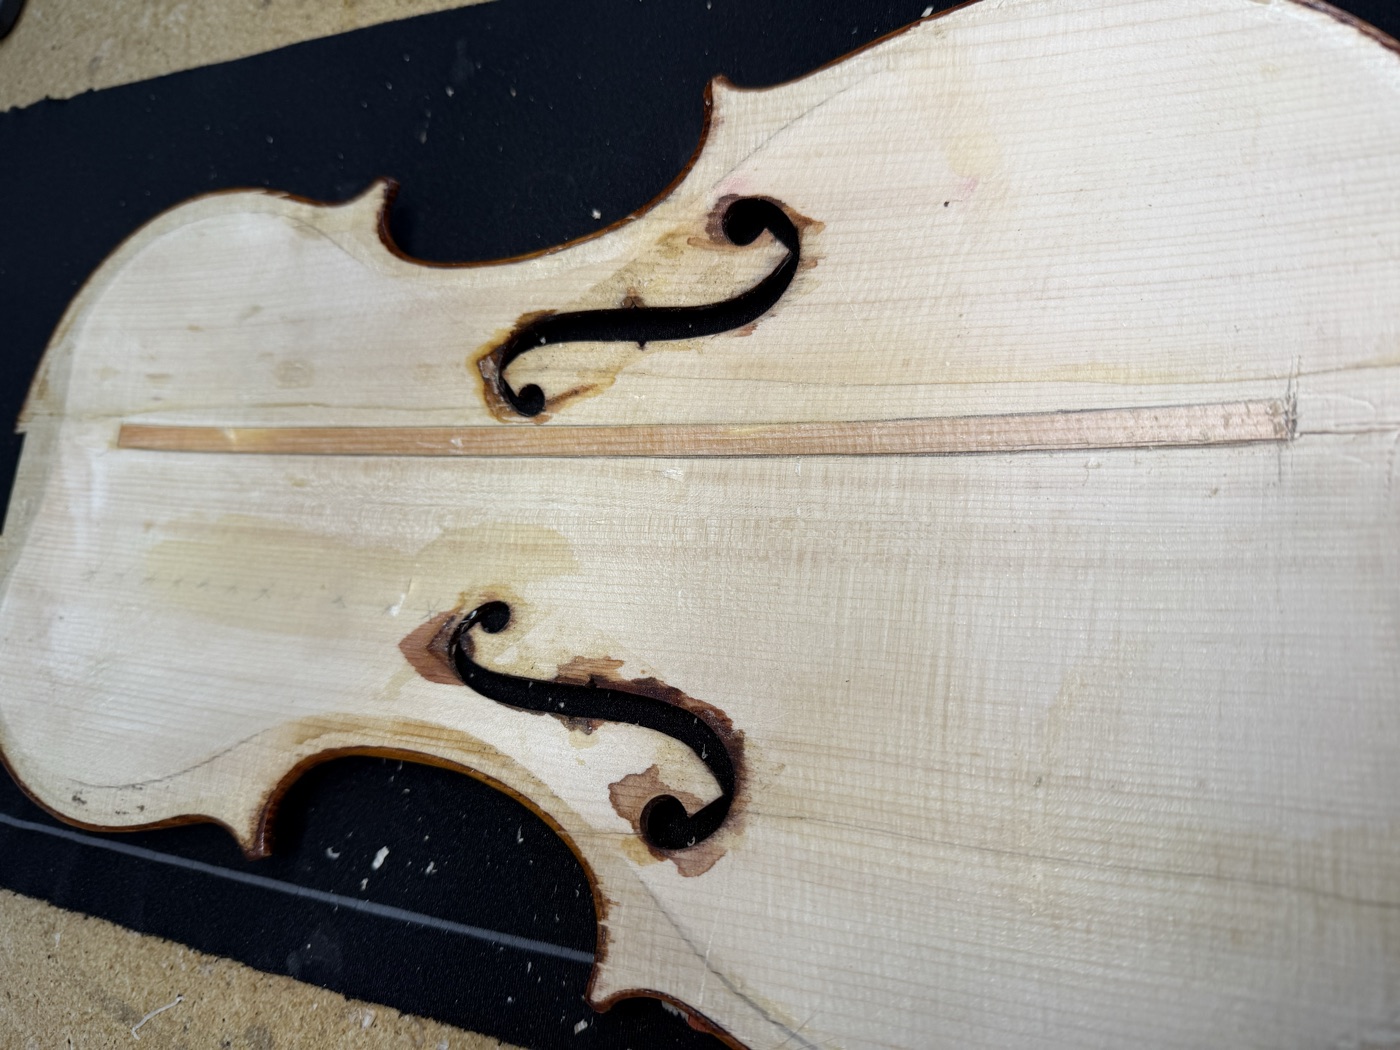
02
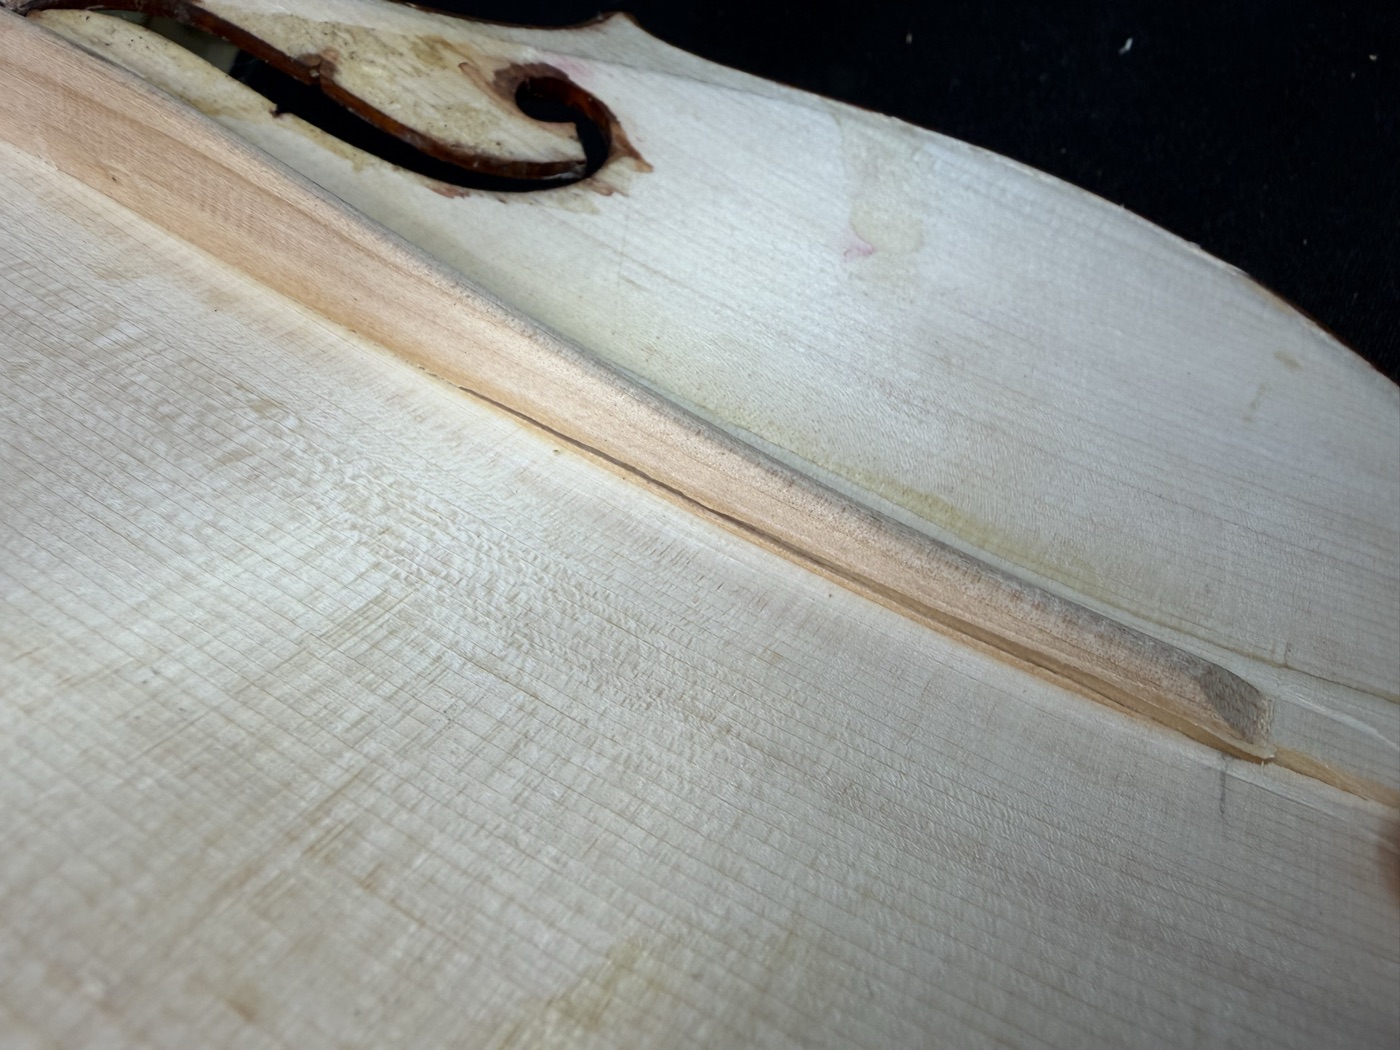
The first step is to join the crack that hasn’t fractured. Fairly simple process - work fresh hide glue in and clamp. I’ve gently marked along the crack with a pencil to show the crack post glue for both the camera as well as in-person, as a righteous gluing can make it hard to find after.
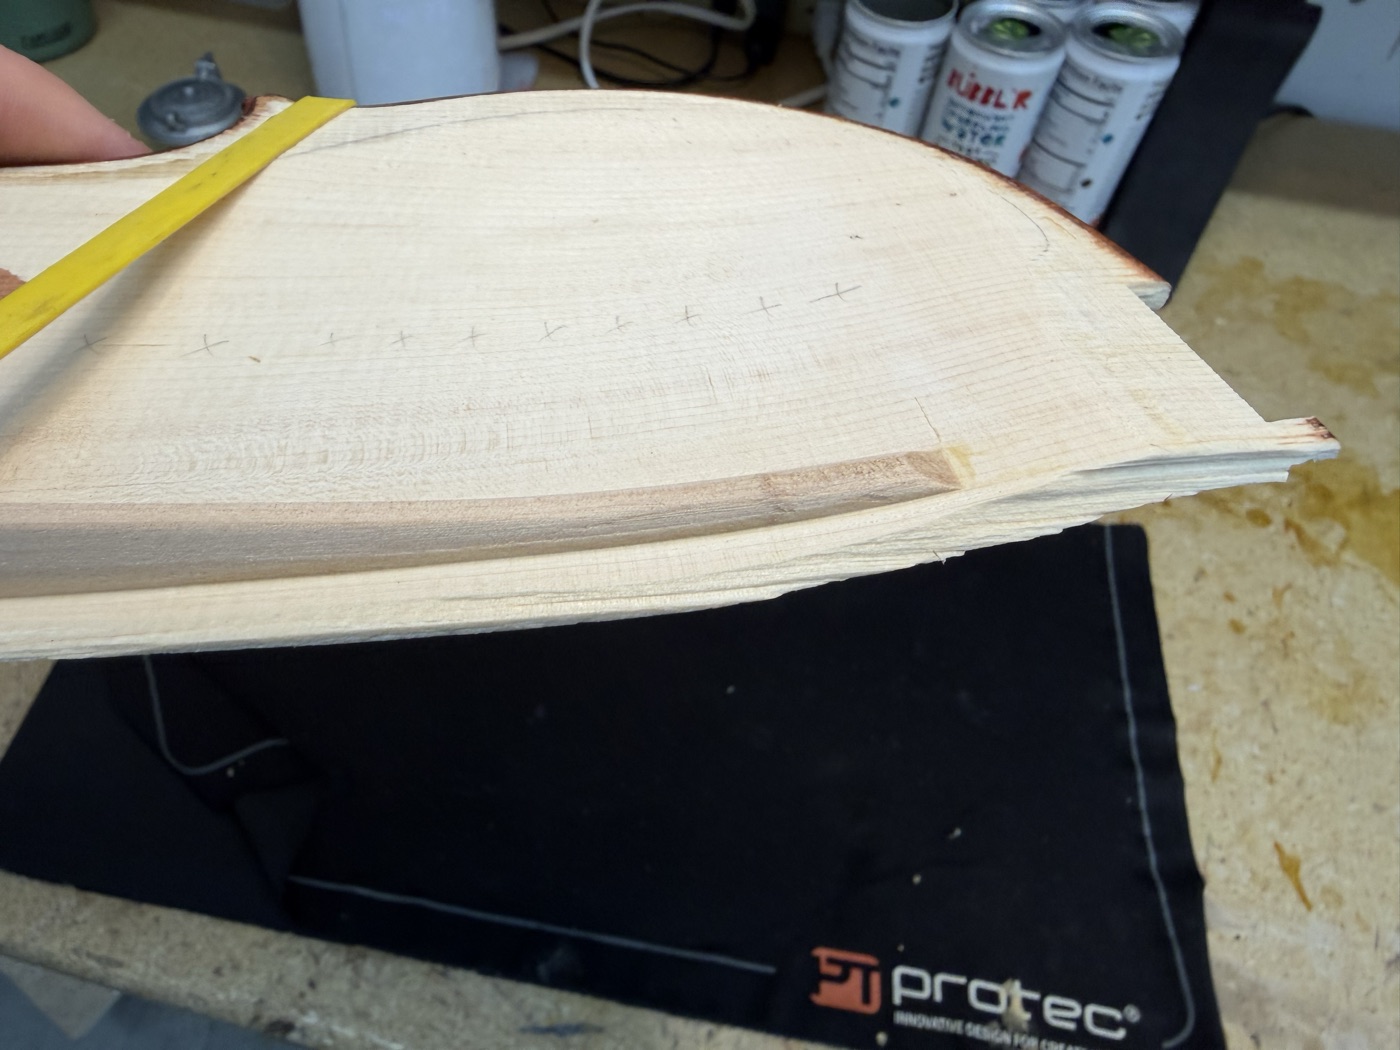
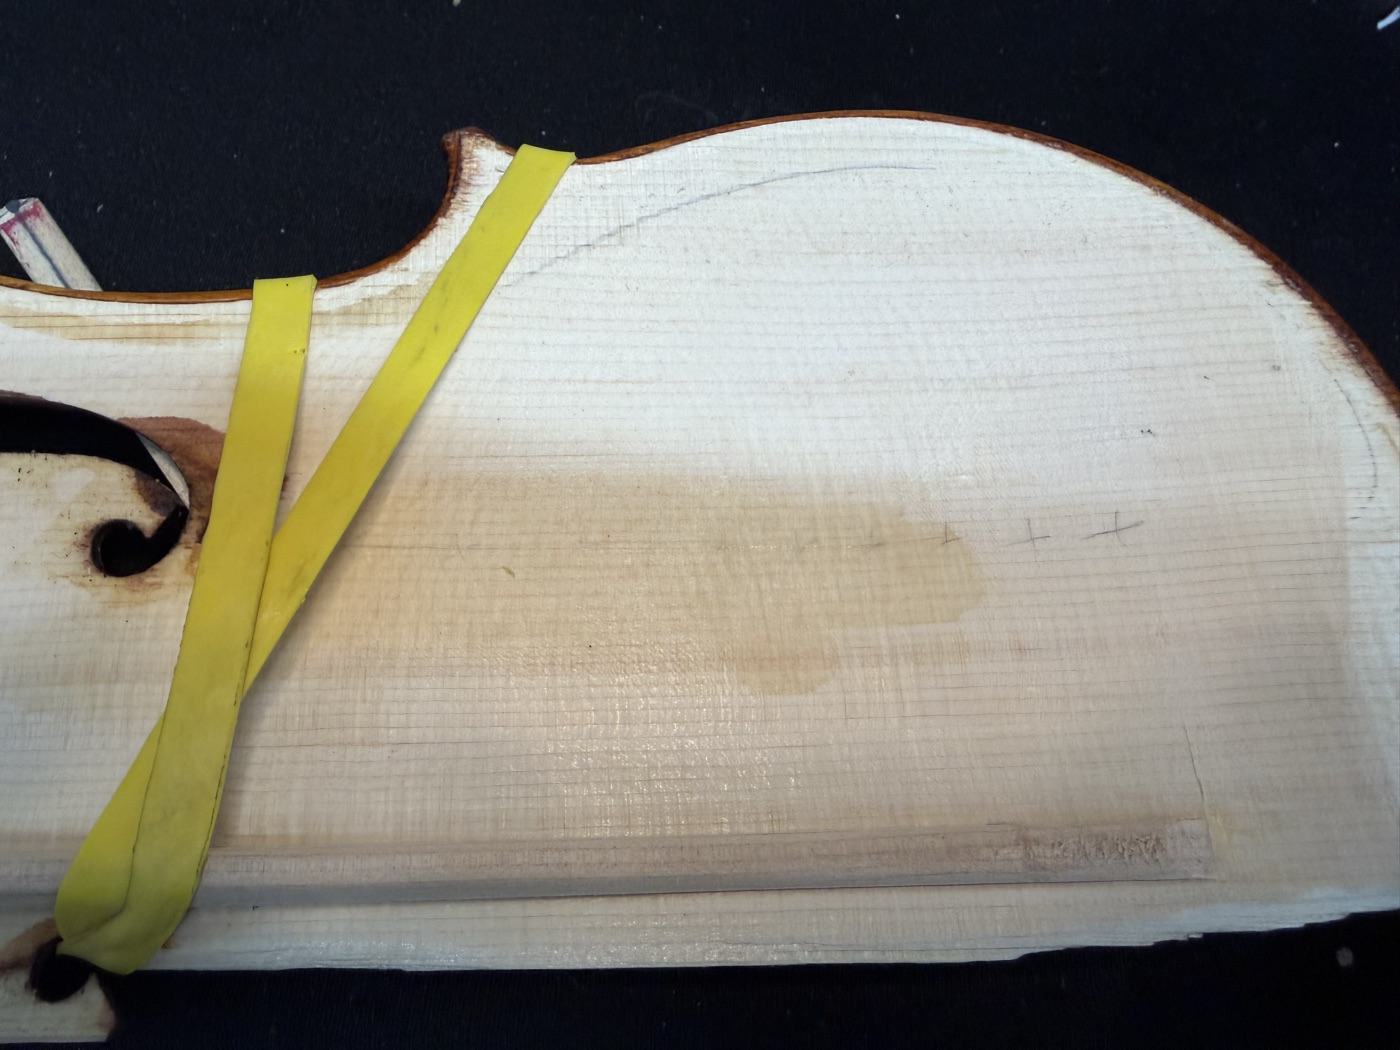
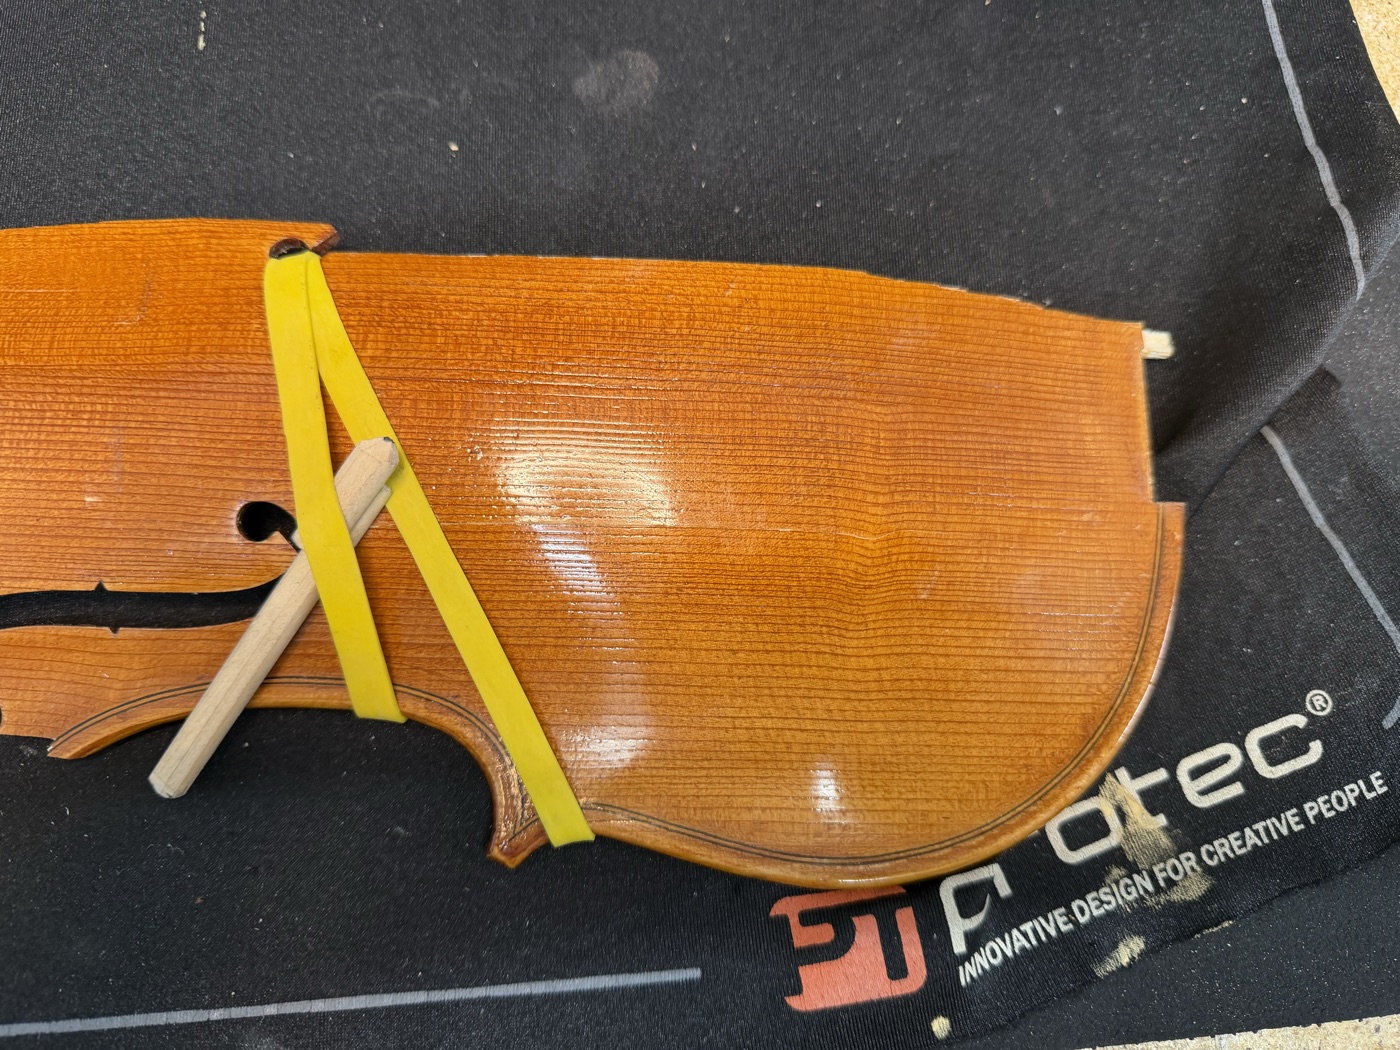
03
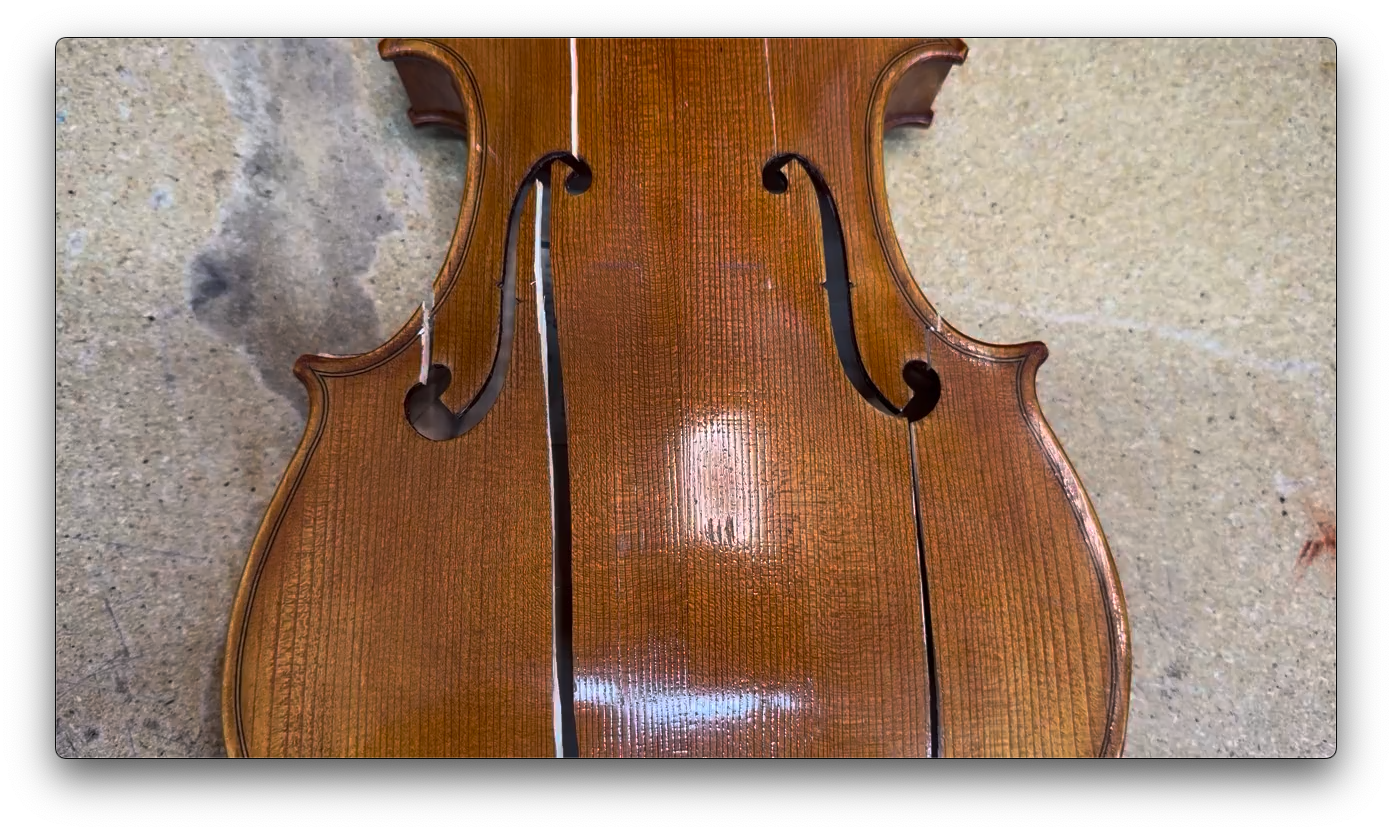
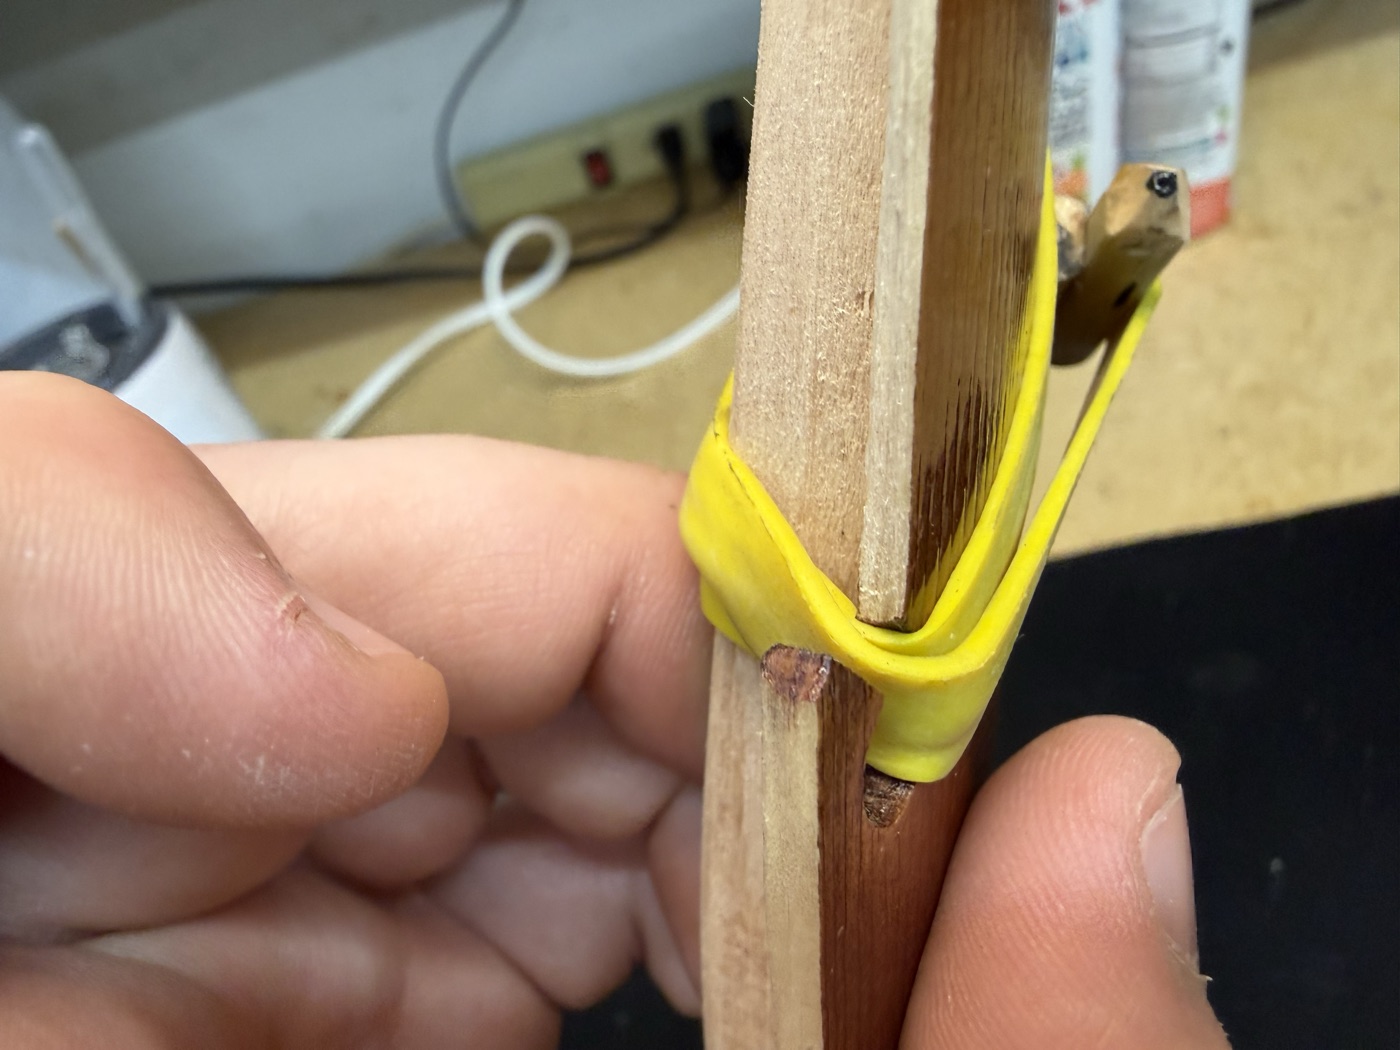
When clamping this joint, we have to be incredibly careful not to damage the knife-edge of the crack a bit away.
I’ve taken advantage of the remaining section of the f-hole as a secure place for the rubber band to hold against. I’ve then used a shim (a bridge marking pencil) to adjust the tension to hold the joint well.

04
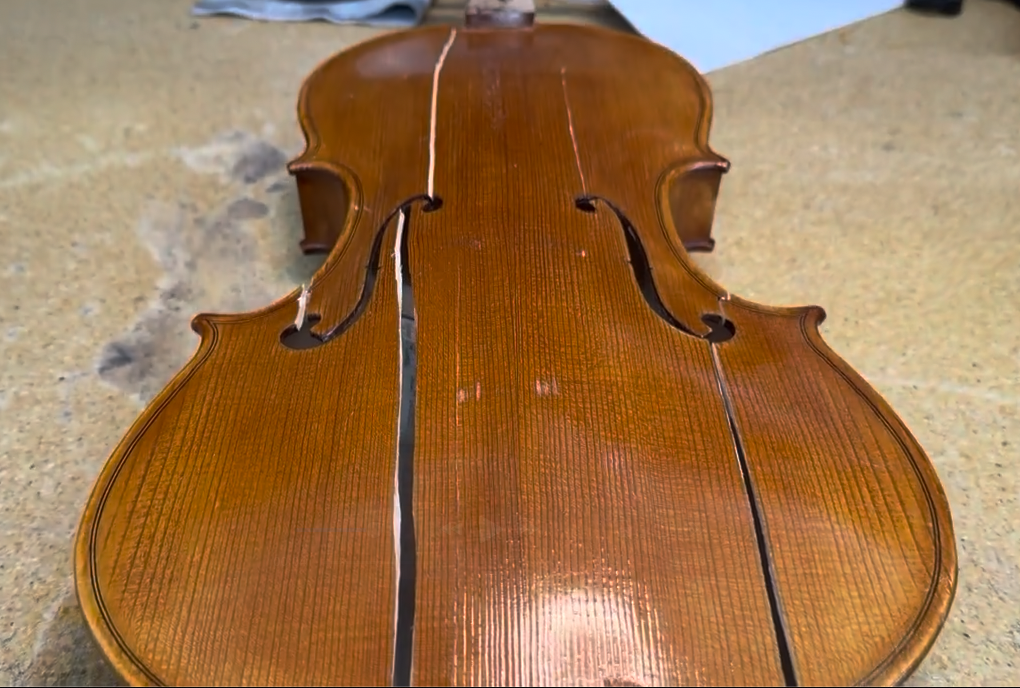
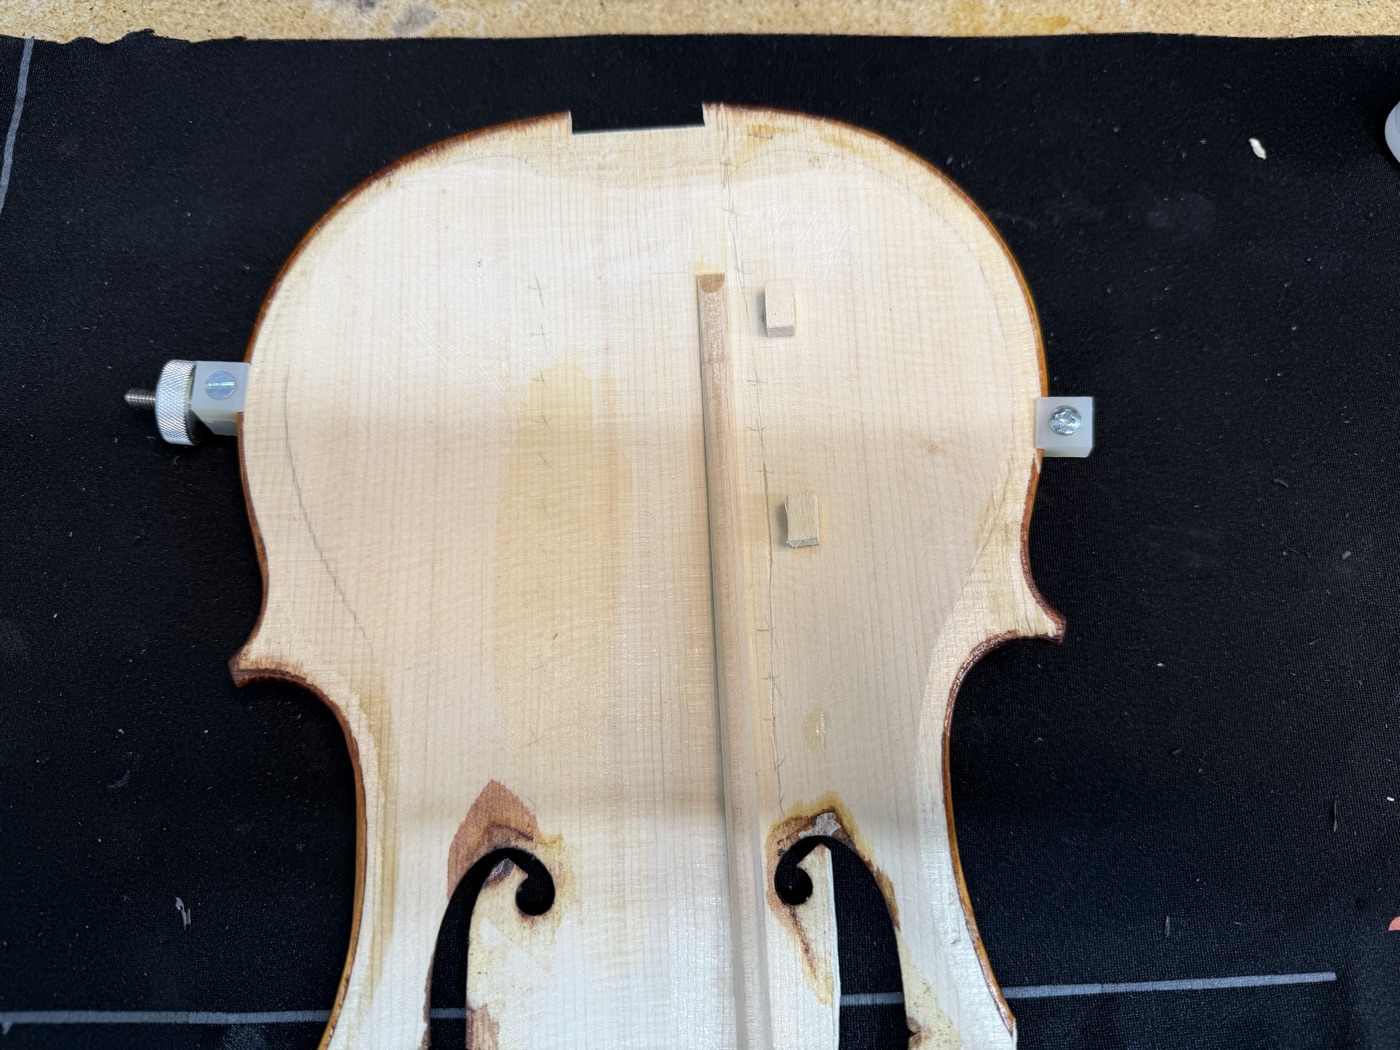
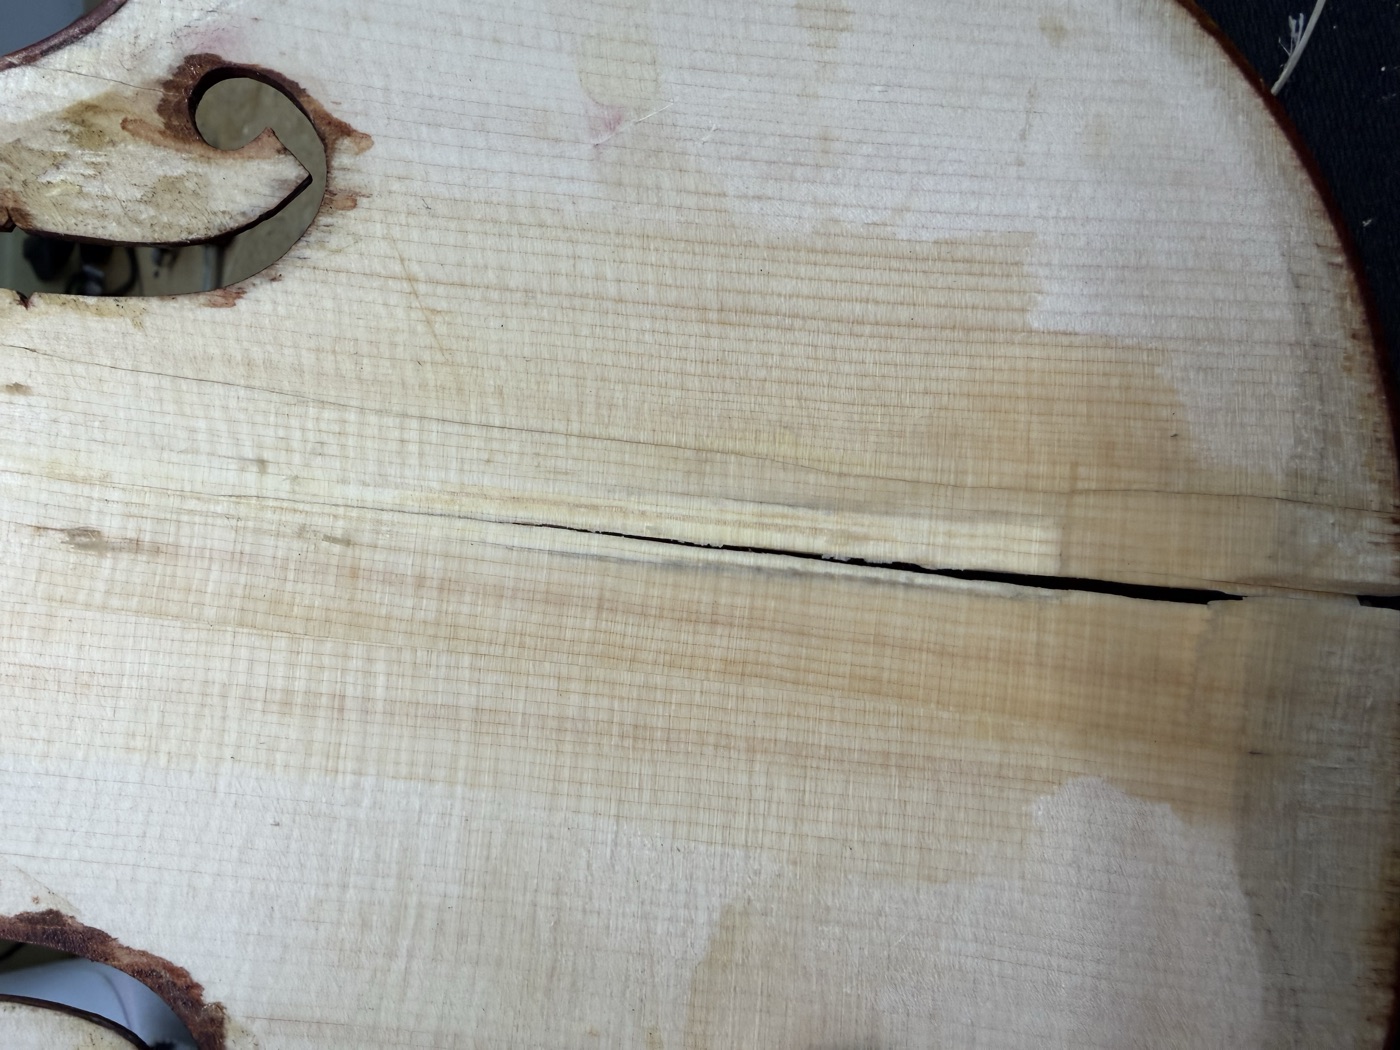
The next crack runs symmetrical to the previous. Joining it will return us to familiar shape for the upper bouts.
The photo shown shows the crack clamped from the outside as well as studs placed to clamp from the inside. I used the bassbar and studs to balance the load from the front (we will be replacing the bassbar later, so this is fine).
There is a missing piece of wood along the crack that we will address later.
05
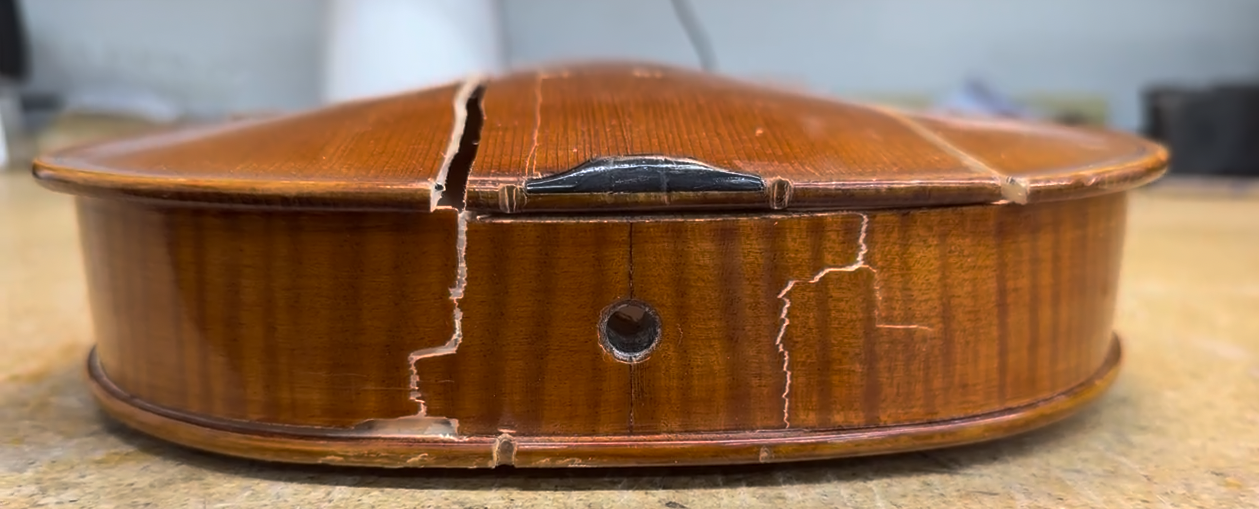
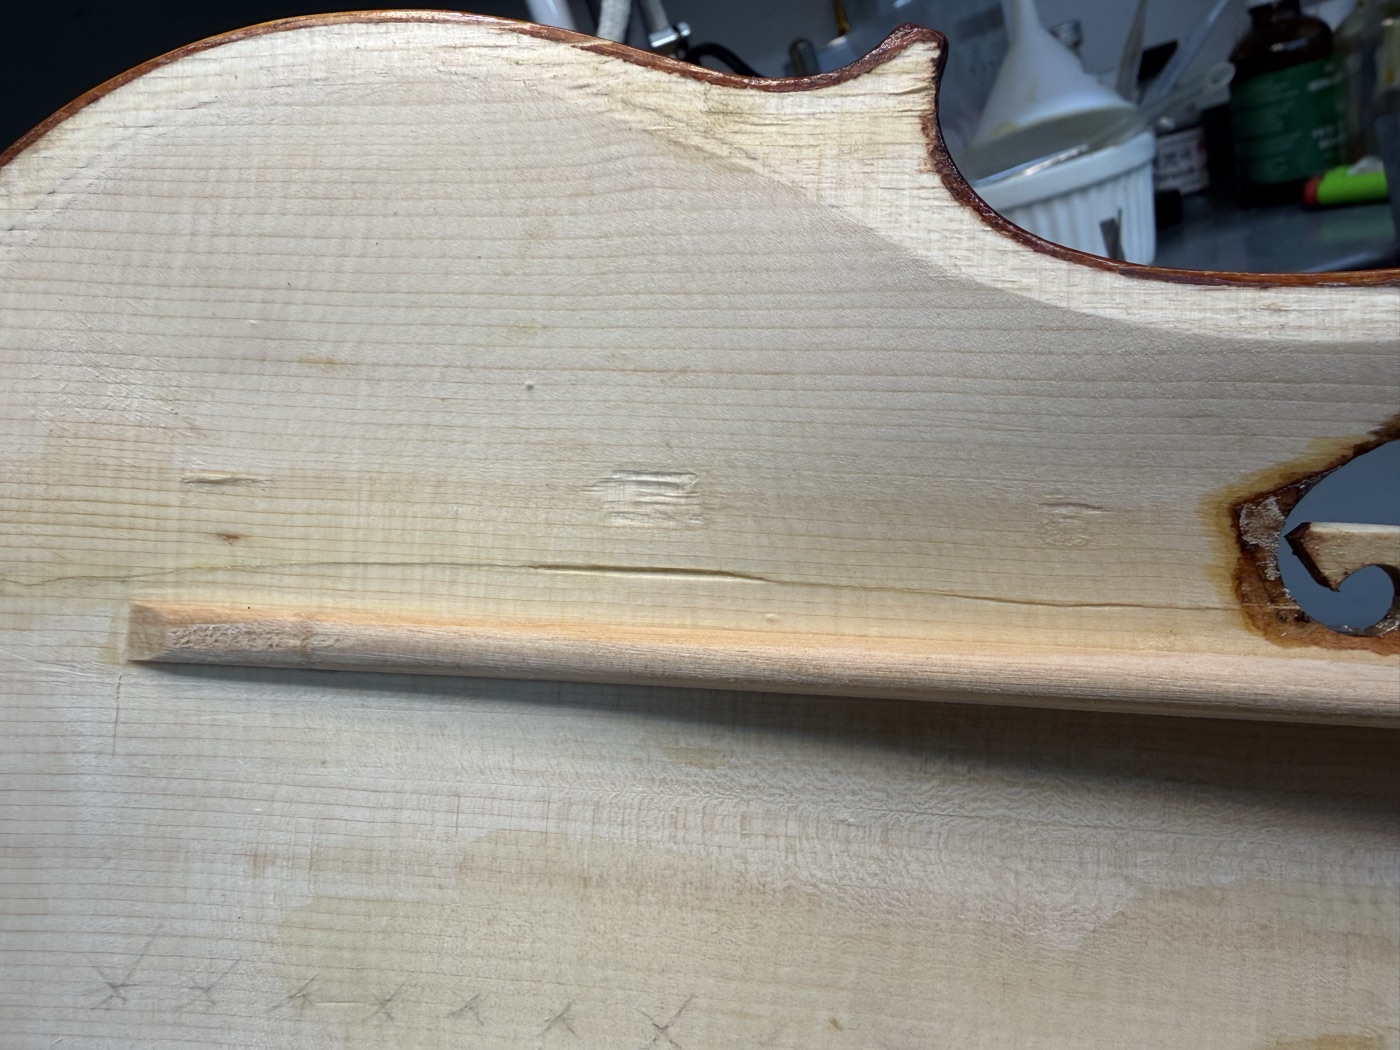
Here, we can see a big issue. Usually, a crack will run alongside the bassbar. Due to the severe force of the impact, the crack travelled through the bar, causing a split underneath it on the table as well as fracturing in the bar itself.
The first step of installing a new bar is to remove the old one. We remove material with a chisel and plane until the remnants of the bar are paper thin. We then soak and let the water undo the glue joint through the wood itself. Then, we can peel the bar off.
The crack underneath then reveals itself.
06
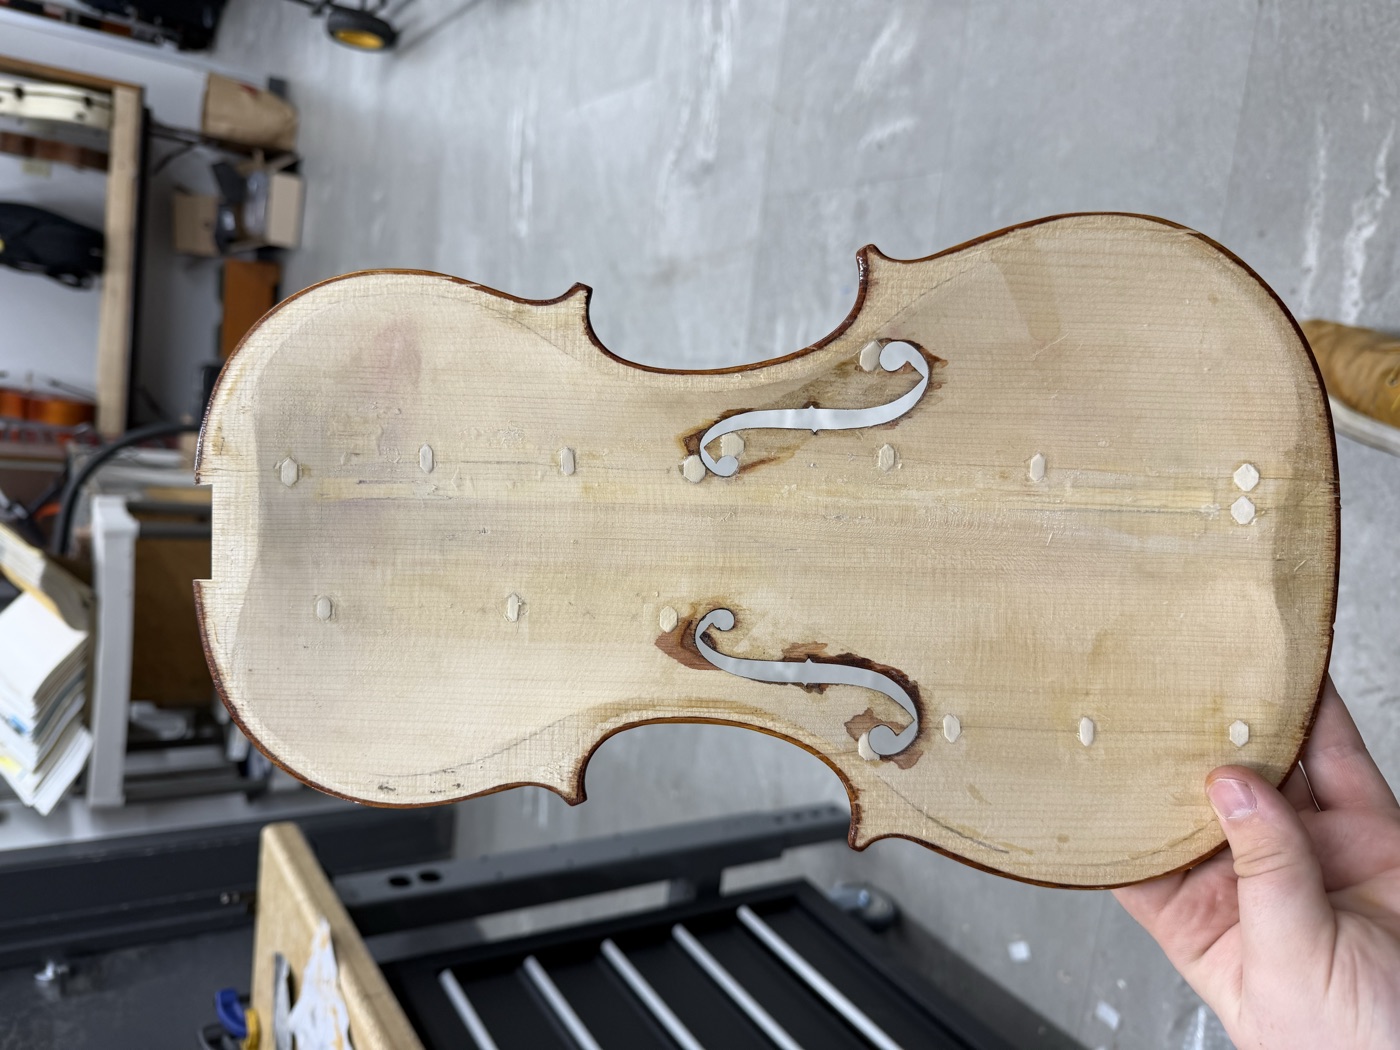
After a few more cracks, we have a turned our four pieces of top into a single, stable unit. I’ve then installed cleats along the cracks.
From many previous crack repairs, I have found that many cleats are far too thick and large. Here, I’ve made the cleats around 10mm wide and 7mm tall for the terminating cleats and 5mm for inline cleats. I am admittedly not precious about making the size the same, as there is always a factor that will change what size a cleat should be. I’ve also made them quite thin, around .5mm. I then create hexagons with a chisel, insuring the endpoints of the cleats do not lineup, as that can cause a stress point and lead to another crack. I then blend the tips into the plate with sandpaper, being careful to only sand the cleat itself.
This process creates an appropriately strong solution while minimizing the tonal and structural effects. It does, however, remove the defined, sharp edges of the cleats that are quite pretty.
07
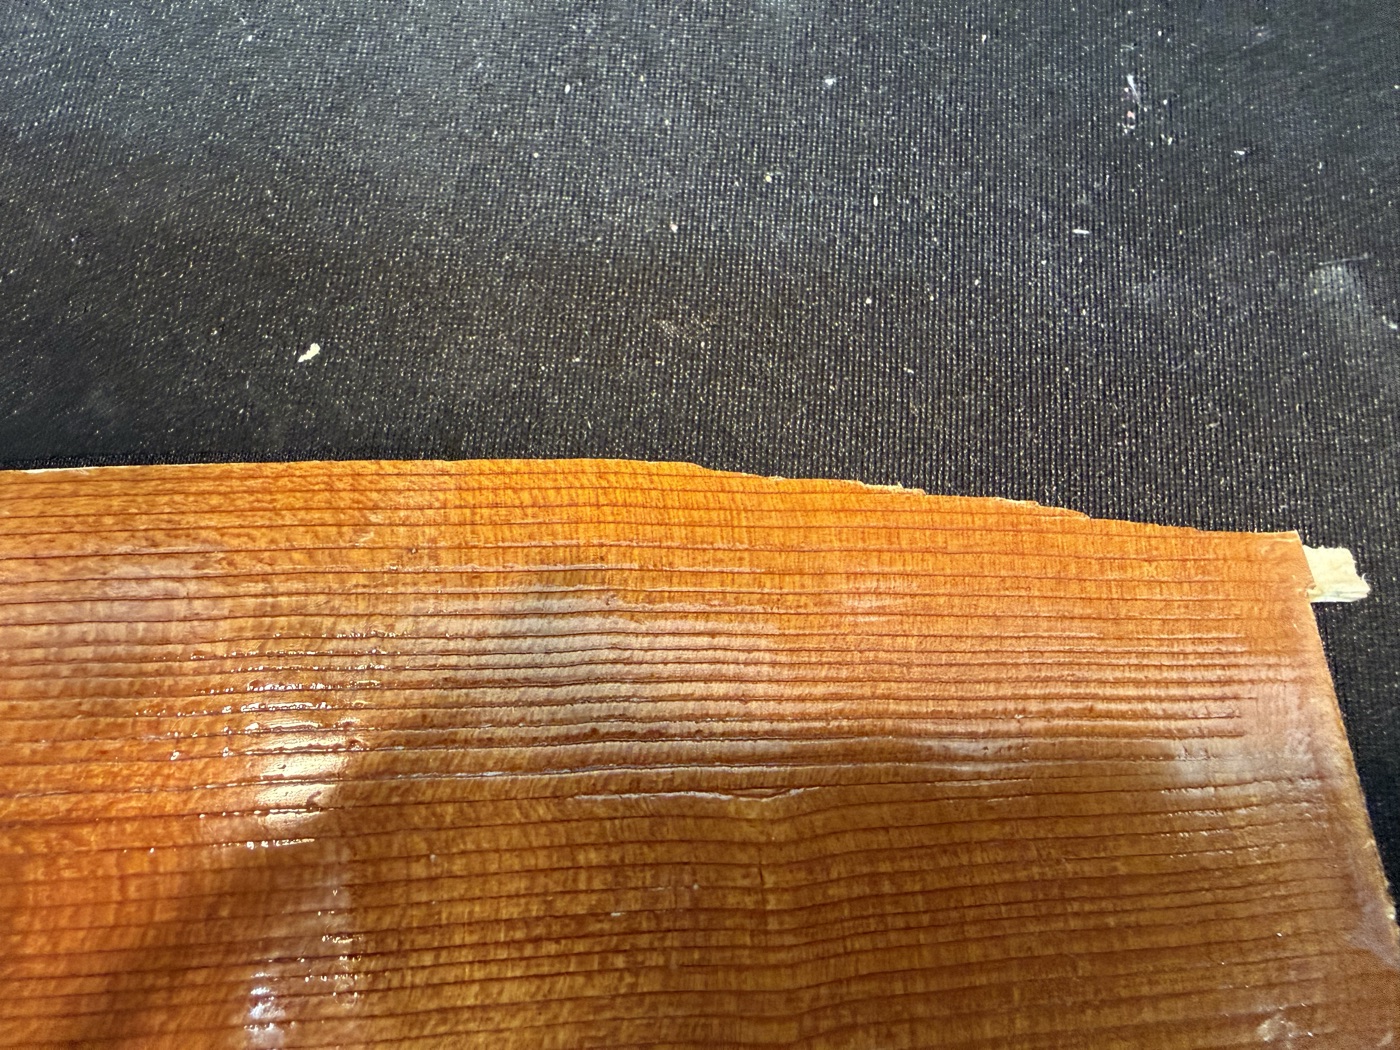
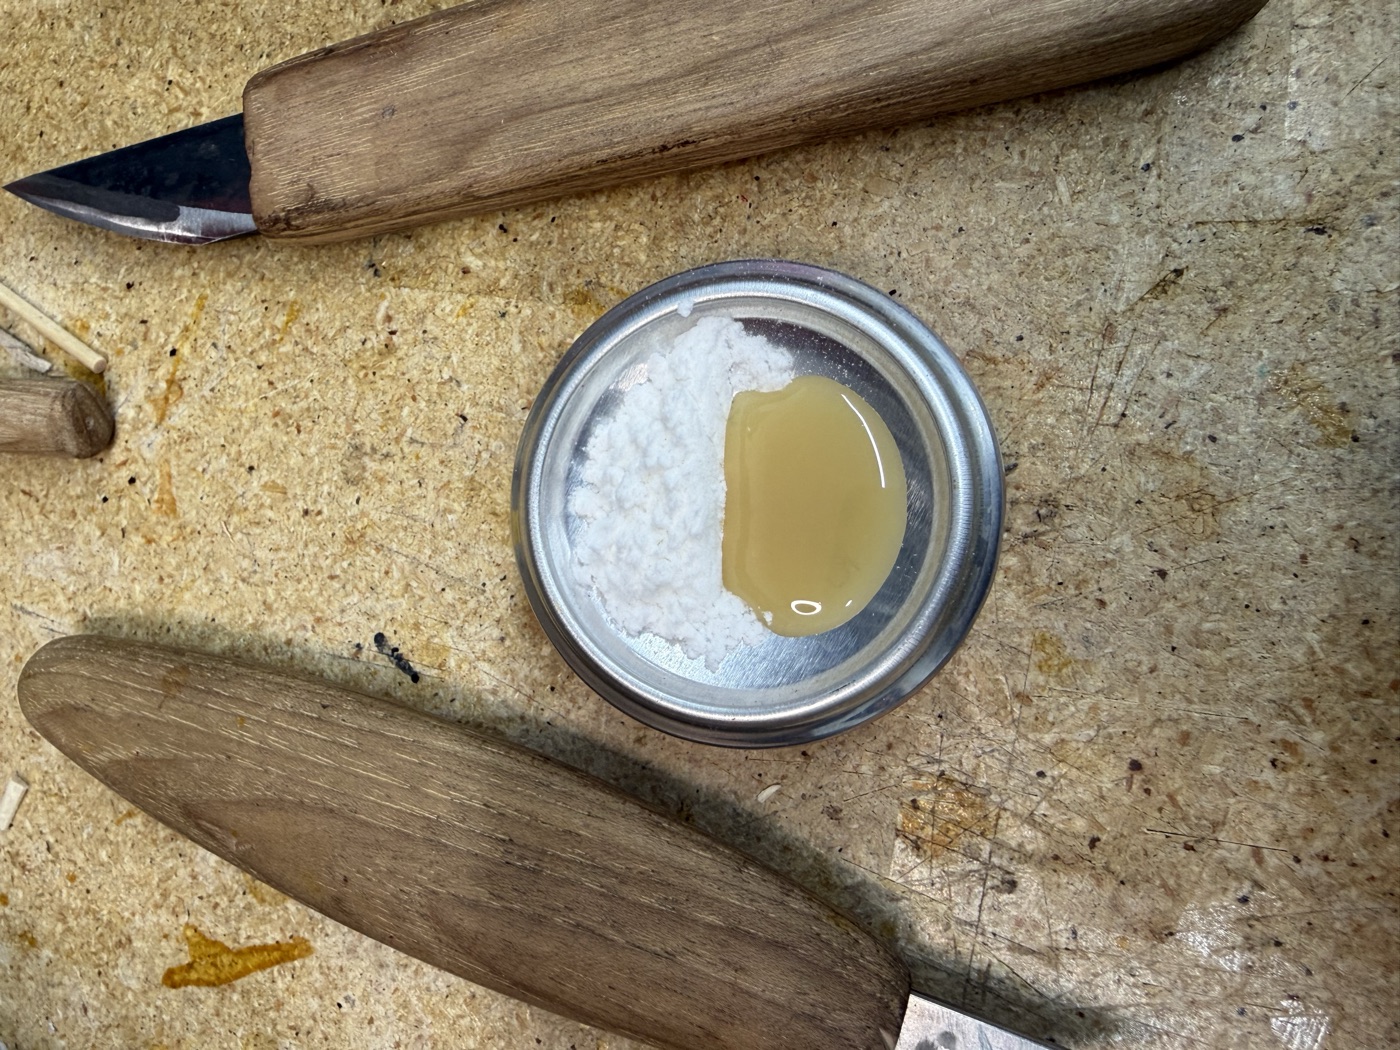
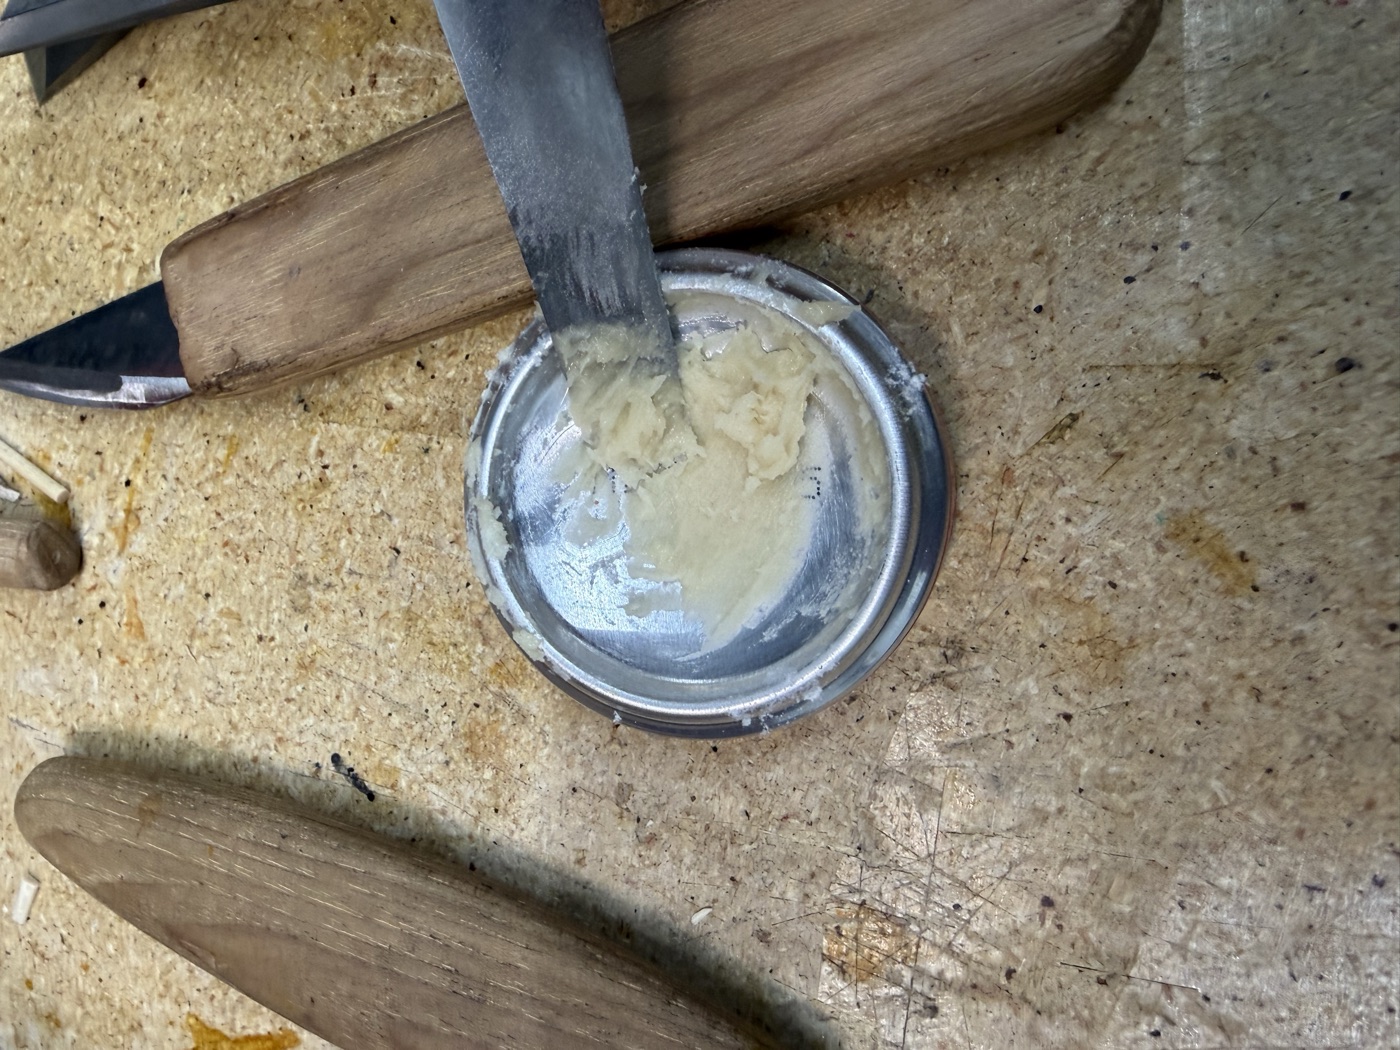
We then have to address the few pieces of missing wood. I opted for using a filler material made of fish glue and .01mm cellulose powder. This mixture dries incredibly hard and durable. It also is entirely reversible - a key tenet of violin repair. The fish glue can be reworked and removed with water.
08
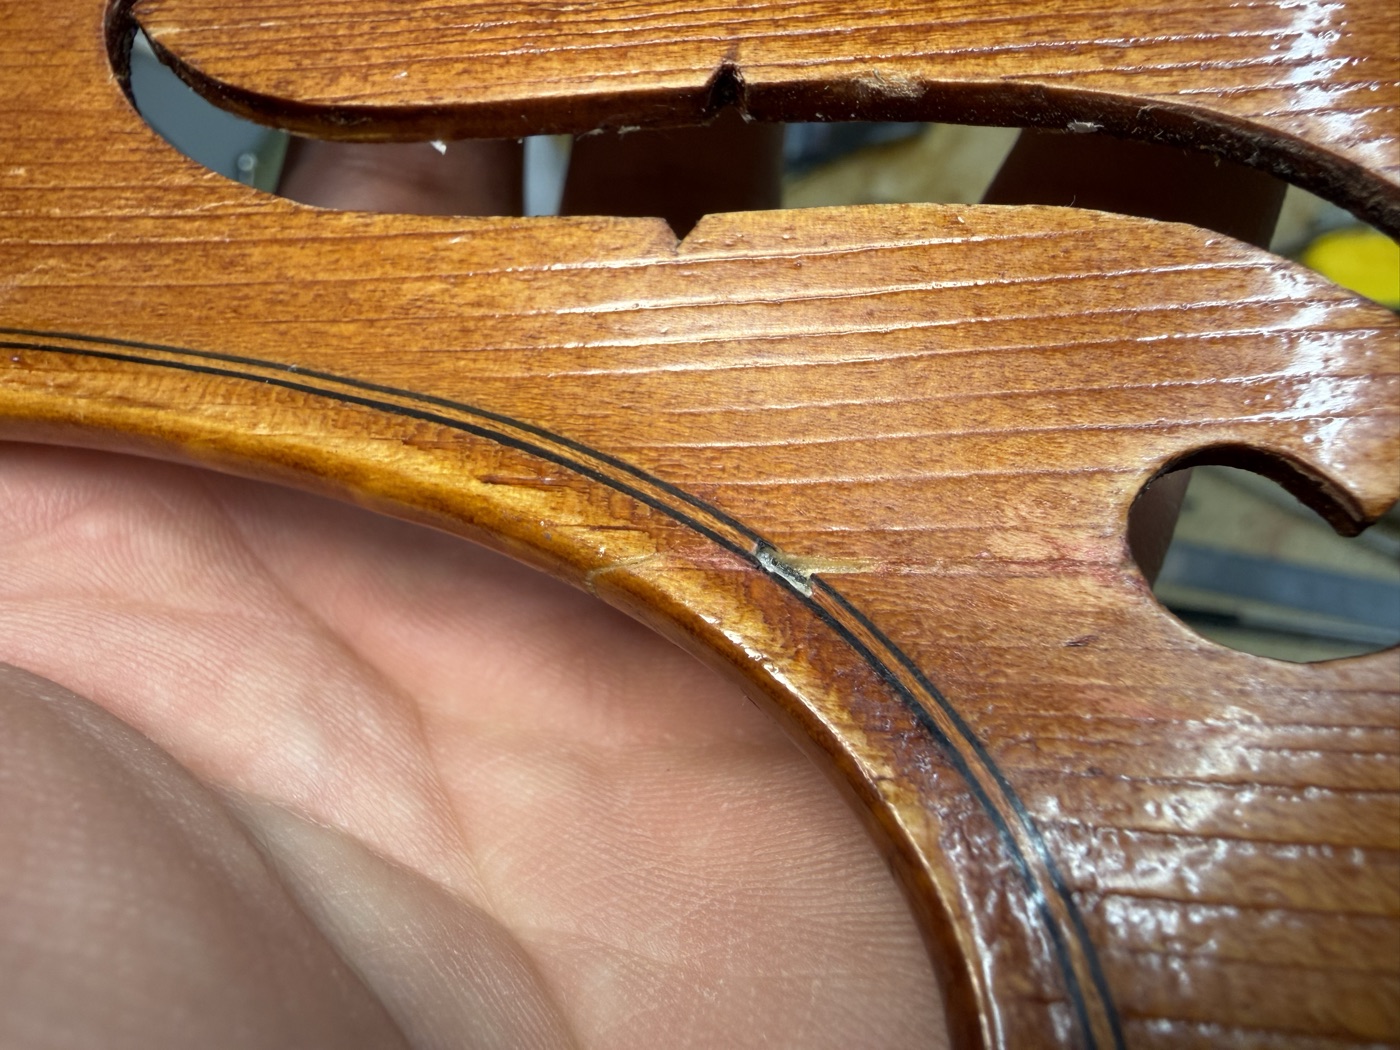
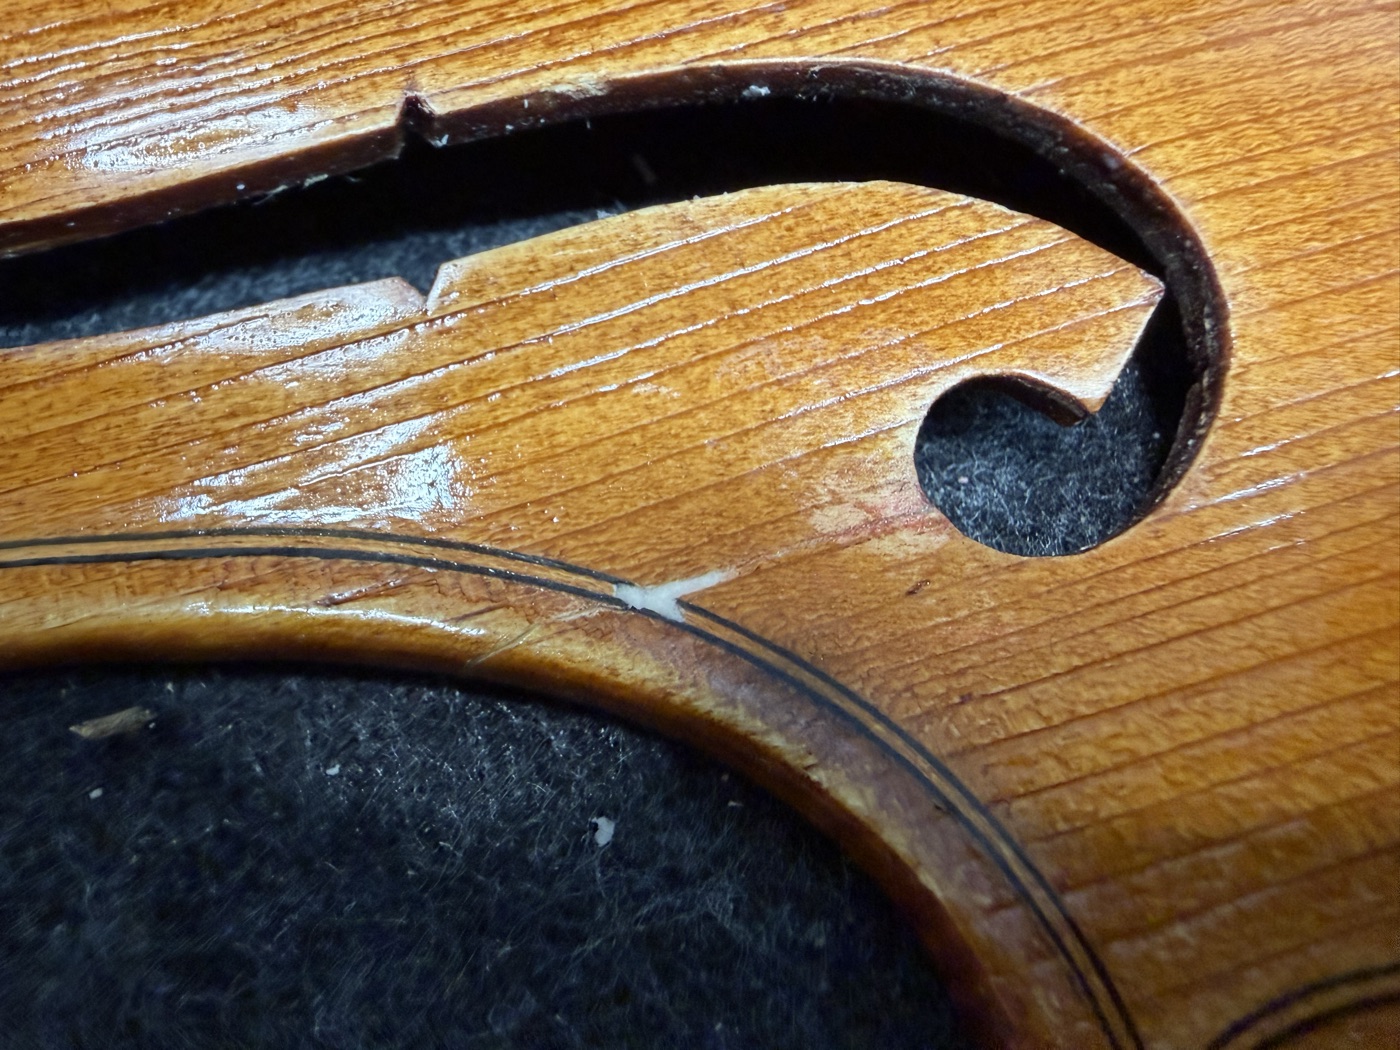
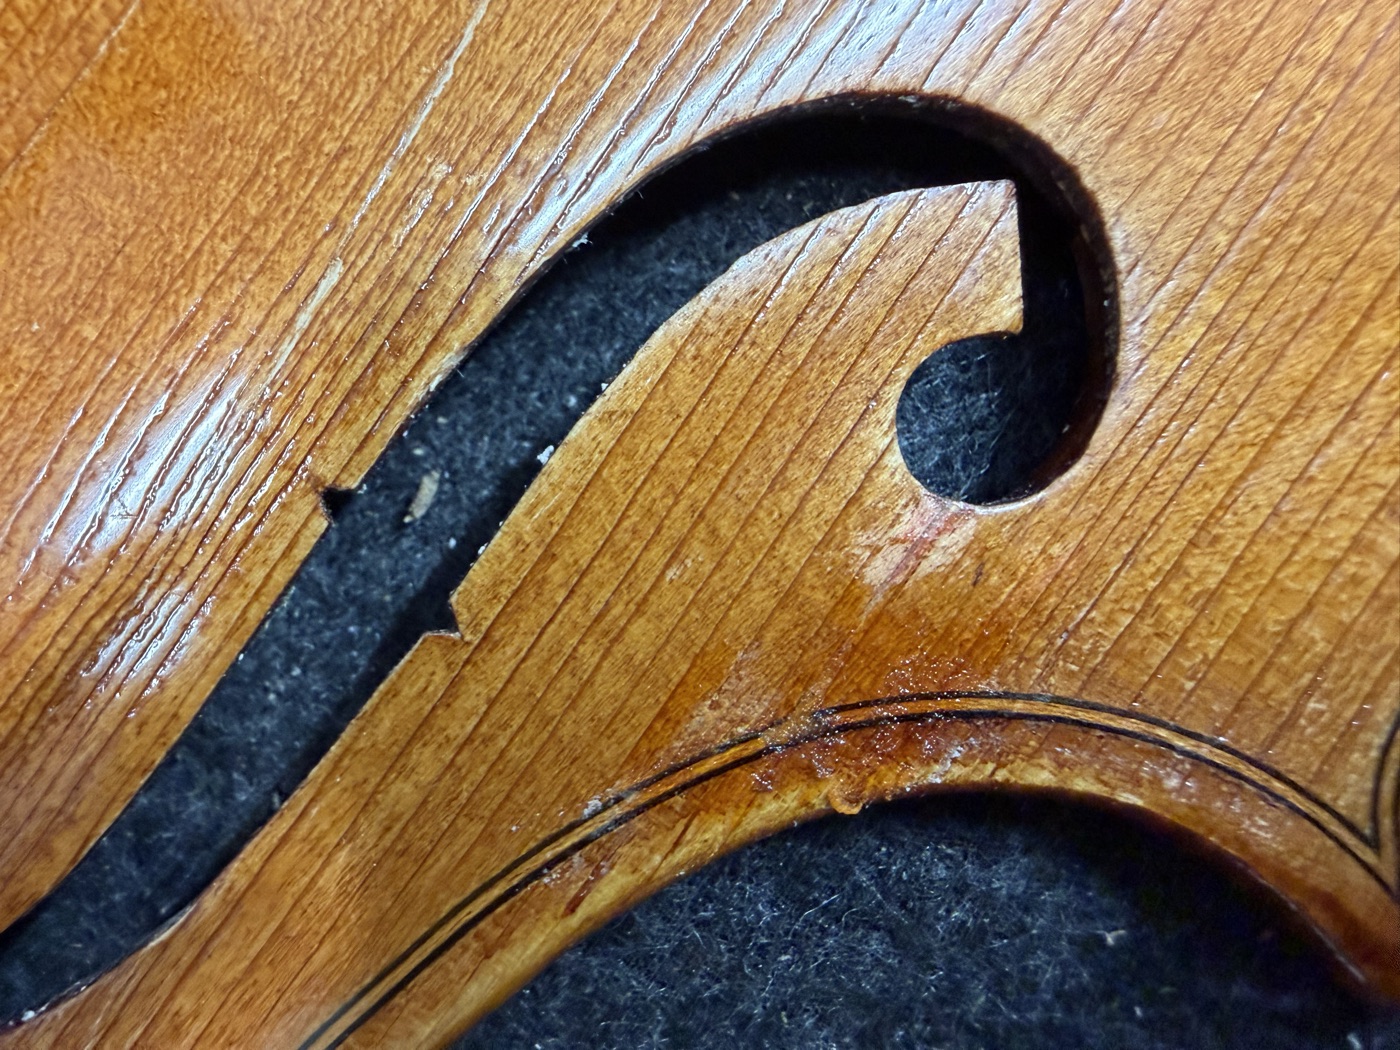
There is a missing chunk of purfling and a grain of spruce. I fill this gap with the filler material, and then color and varnish to match the surrounding.
This process is repeated for the entire top.
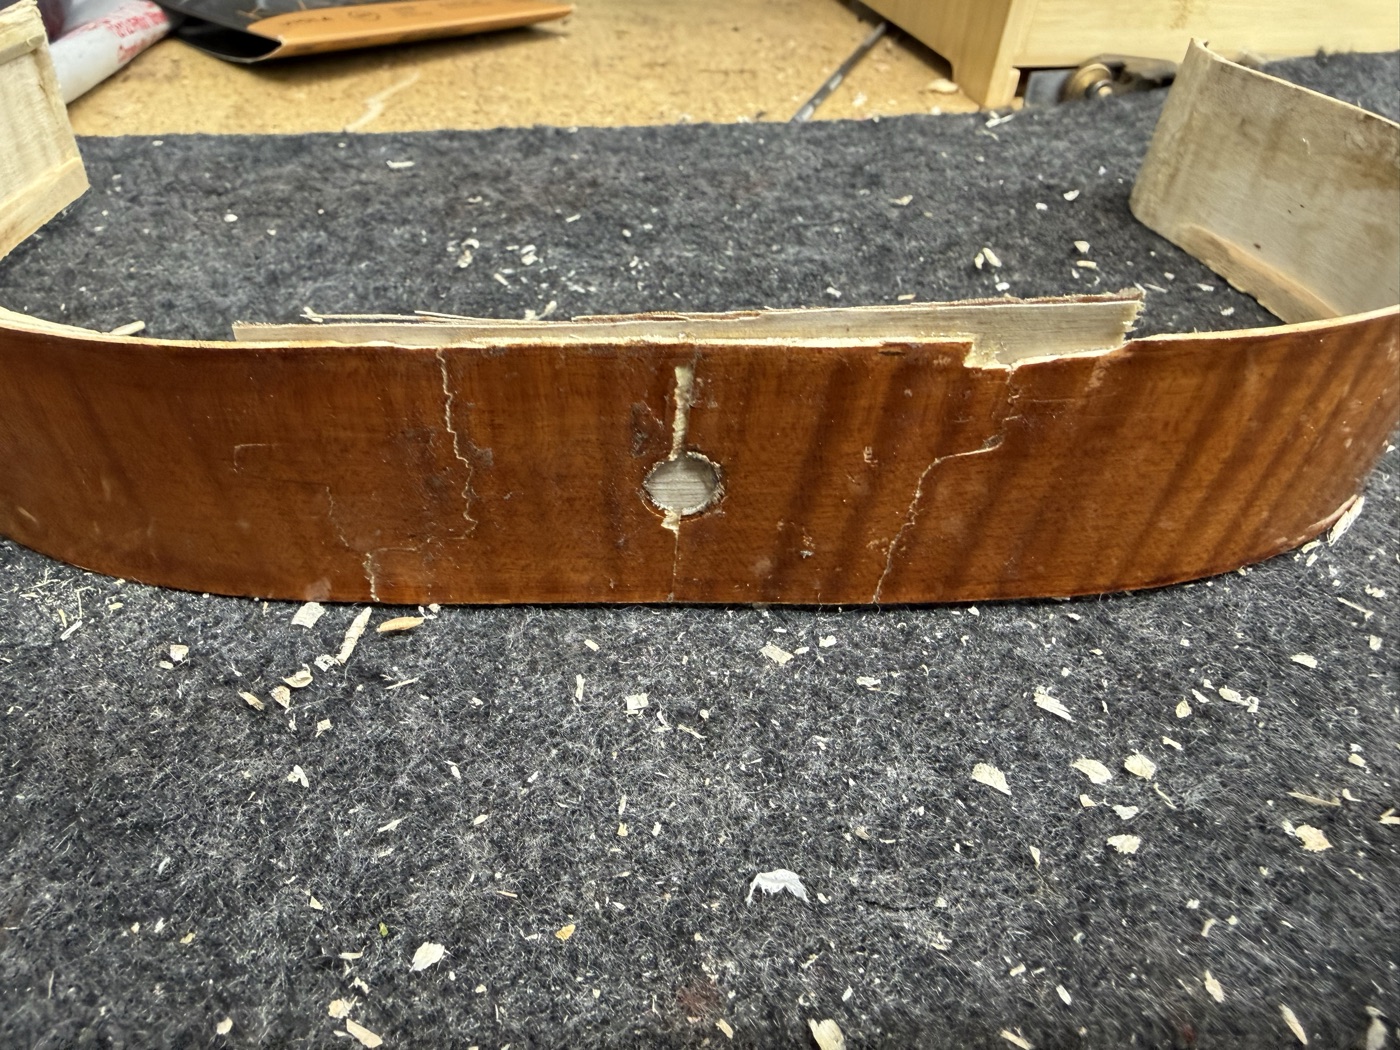
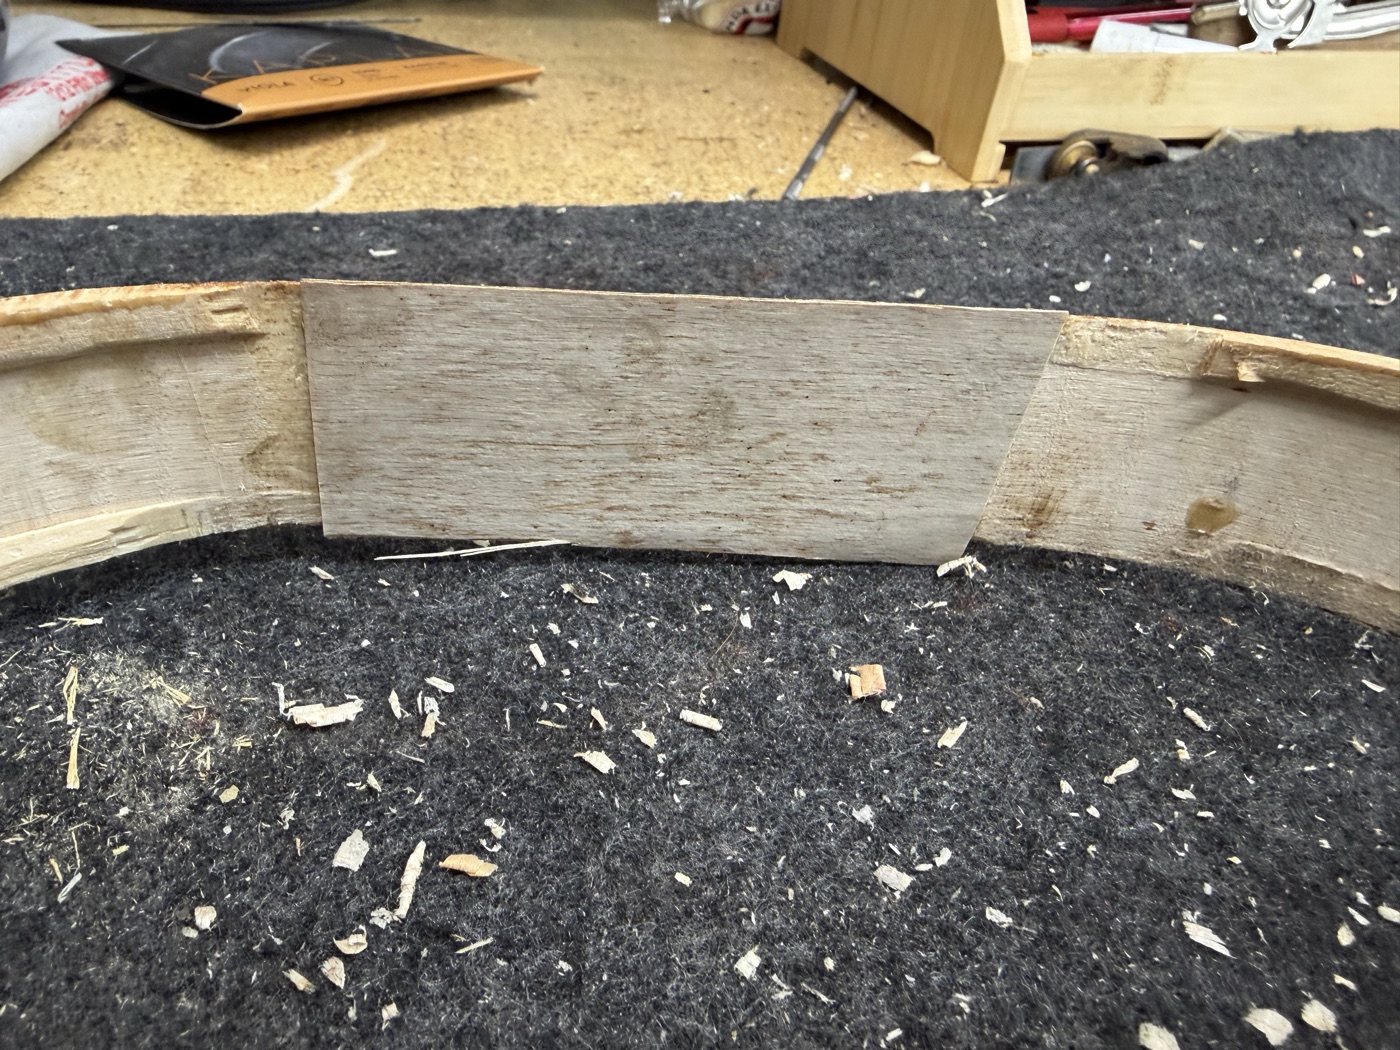
09
Now, we have to address the ribs. I’ve cut out the tail block and removed the two lower ribs. I then glued them together, thinned them out, and then glued a graft piece in place to secure the joints. I returned the rib thickness to the original, but I opted for a non-traditional material for the graft as an experiment. I used 1/64" three-ply birch plywood, used in model aviation construction. The inner ply is glued crossgrain to the two outside. This material is incredibly strong and flexible for how thin it is. I’ve used this as an alternative for soundpost patches with wonderful success. Future post pending on my experimentation and arguments for this approach as opposed to the traditional.
10
This restoration is currently in progress. Documentation continues as the work happens.